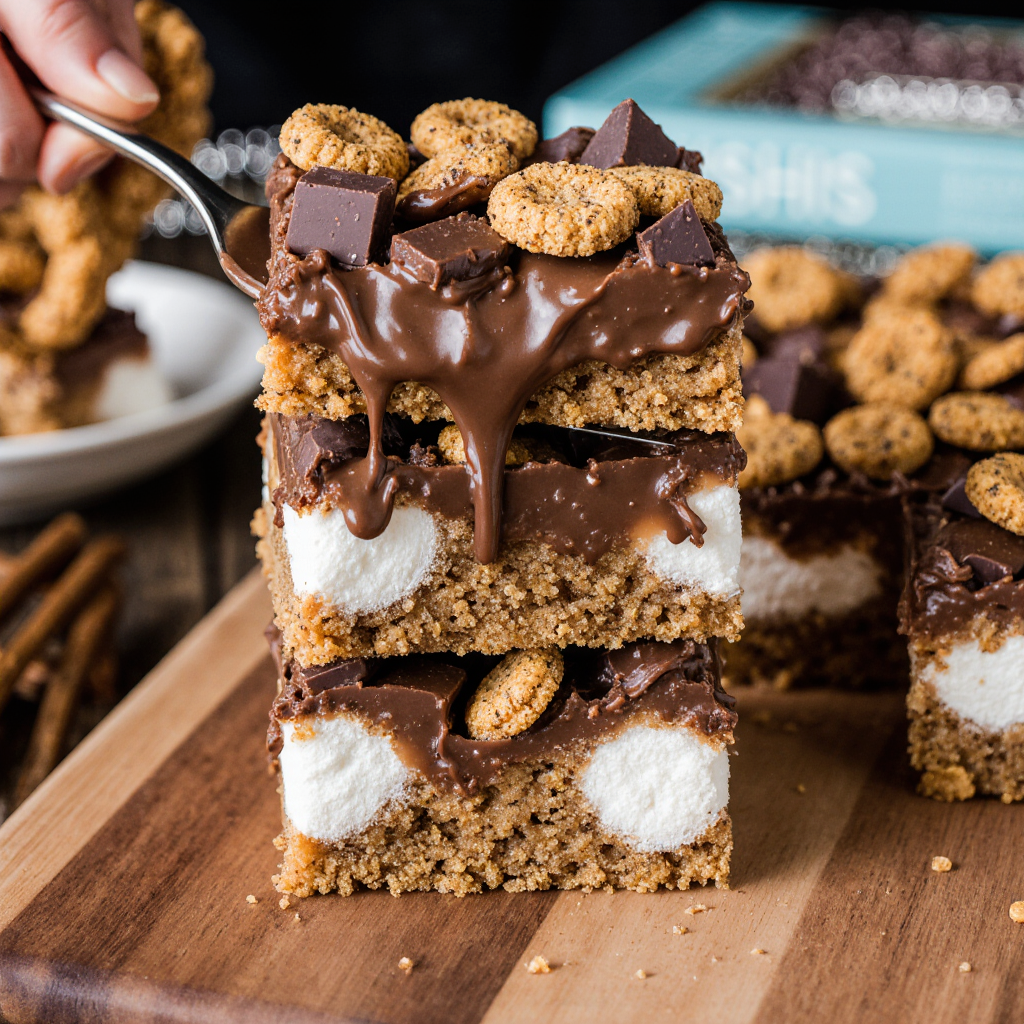
These Golden Graham Treats are the ultimate no-bake dessert for cereal lovers everywhere! Imagine buttery, gooey marshmallows coating crispy Golden Grahams cereal, topped with chunks of creamy Hershey chocolate — it’s like s’mores meets Rice Krispie treats. Sweet, crunchy, chewy, and slightly chocolatey, they hit every nostalgic note you could want in a comfort-food dessert.
This recipe is perfect for busy days, after-school snacks, or last-minute party treats. It requires no oven, no fancy tools, and comes together in under 20 minutes. Once chilled and sliced, each square delivers a melt-in-your-mouth bite with irresistible marshmallow pull and a satisfying crunch.
Whether you’re a kid at heart or making them for your family, these Golden Graham Treats are guaranteed to disappear fast — so you might want to double the batch!
Why You’ll Love These Golden Graham Treats
You’ll love this recipe because it’s quick, nostalgic, and crowd-pleasing. The buttery marshmallow coating brings cozy childhood memories rushing back, while the Golden Grahams add that signature honey-cereal flavor.
Additionally, these bars are mess-free and highly adaptable. You can easily change up the toppings, add chocolate chips, or even swirl in peanut butter. The Hershey chunks on top make them taste like campfire s’mores without any of the smoke or cleanup.
They’re ideal for potlucks, bake sales, and holiday dessert trays. And because they store beautifully, you can make them ahead of time and have sweet squares ready for any occasion.
Why You Should Try This Recipe
If you’re looking for a no-bake dessert that delivers maximum flavor with minimal effort, this is the one. The combination of honeyed cereal, marshmallows, and chocolate hits the perfect balance of chewy, crispy, and creamy.
Furthermore, it’s a great recipe for beginners or kids who want to help in the kitchen. You can melt, mix, and press everything in under half an hour, and the result looks impressive enough for a bake sale or gift box.
This is the kind of dessert that never fails to bring a smile — whether you’re serving it with milk, packing it in lunchboxes, or sneaking a square straight from the fridge.
Ingredients You’ll Need
- 7 cups Golden Grahams cereal
- 16 oz mini marshmallows, divided (about 8 cups)
- ½ cup (1 stick) unsalted butter
- 2–3 Hershey bars, chopped into small pieces
How to Make Golden Graham Treats (Step-by-Step)
1. Melt the Butter and Marshmallows
In a large saucepan over medium heat, melt the butter and 6 cups of mini marshmallows together. Stir constantly until completely melted and smooth — the mixture should be glossy and thick.
2. Add the Cereal
Remove from heat and immediately add the Golden Grahams cereal. Using a rubber spatula, stir gently but thoroughly until all cereal pieces are evenly coated with the marshmallow mixture.
3. Add More Marshmallows
Once everything is coated, fold in a handful of remaining mini marshmallows. These will stay slightly whole, giving the bars extra gooey pockets once cooled.
4. Press Into the Pan
Spray a 9×13-inch baking pan with nonstick spray or line it with parchment paper. Transfer the cereal mixture into the pan and press down lightly with a greased spatula or wax paper to create an even layer.
5. Add the Toppings
Sprinkle the top with more mini marshmallows and scatter the chopped Hershey bar pieces evenly across the surface. Press them gently into the mixture so they stick but don’t melt completely.
6. Cool and Slice
Refrigerate for about 30 minutes or until firm. Once set, cut into squares or bars using a sharp knife. Serve chilled or at room temperature — either way, they’re irresistible!
10 Tips for the Best Golden Graham Treats
- Work quickly when mixing the cereal — marshmallows set fast.
- Don’t overheat the butter, or the mixture can turn greasy.
- Reserve some marshmallows to stir in at the end for gooey texture.
- Use fresh cereal — stale cereal won’t hold its crunch.
- Line your pan for easy removal and clean slicing.
- Add a pinch of salt to balance sweetness if desired.
- Press gently — too much pressure will make the bars dense.
- Use high-quality chocolate for the best flavor.
- Chill before slicing for clean, neat bars.
- Store properly to maintain chewiness (see below).
10 Variations & Substitutions
- S’mores Version: Add crushed graham crackers and chocolate chunks.
- Peanut Butter Twist: Melt ¼ cup peanut butter with the marshmallows.
- Chocolate Drizzle: Add a melted chocolate drizzle after chilling.
- White Chocolate & Cranberry: Mix in white chocolate chips and dried cranberries.
- Nutty Crunch: Stir in chopped almonds or pecans.
- Salted Caramel: Drizzle caramel sauce over the top before cooling.
- Holiday Version: Add red and green M&Ms or festive sprinkles.
- Cookies & Cream: Mix in crushed Oreo pieces.
- Butterscotch Lovers: Substitute Hershey bars with butterscotch chips.
- Mini Cups: Press the mixture into muffin tins for bite-sized treats.
What to Serve With Golden Graham Treats (Step-by-Step)
- Pair with a cold glass of milk for a classic combo.
- Serve with hot chocolate for cozy winter snacking.
- Add to dessert platters alongside brownies or cookies.
- Pack in lunchboxes for a sweet surprise.
- Wrap individually for party favors or bake sale treats.
Storage & Reheating Tips (Step-by-Step)
To Store
Store bars in an airtight container at room temperature for up to 5 days. To keep them extra soft, place a piece of parchment paper between layers.
To Refrigerate
Refrigerate for longer freshness — up to 7 days. Allow bars to come to room temperature before serving for best texture.
To Freeze
Freeze individually wrapped bars in plastic wrap and store in a freezer bag for up to 2 months. Thaw at room temperature before serving.
Recipe FAQs
1. Can I use a different cereal?
Yes — Rice Krispies, Honey Grahams, or Cinnamon Toast Crunch all work beautifully.
2. Can I melt everything in the microwave?
Absolutely. Microwave butter and marshmallows in 30-second intervals, stirring until smooth.
3. Can I make them less sweet?
Reduce the marshmallows slightly or use dark chocolate instead of milk chocolate.
4. Can I use salted butter?
Yes, but reduce or skip any added salt.
5. Can I make them vegan?
Use vegan marshmallows, dairy-free butter, and dark chocolate.
6. How do I prevent sticking?
Grease your spatula and hands with a touch of butter or cooking spray.
7. Can I double the recipe?
Yes — use a 10×15-inch pan for larger batches.
8. Do I need to refrigerate them?
No, but chilling helps them firm up faster.
9. Can I make them nut-free?
Yes, just ensure your chocolate is nut-free.
10. How can I make them extra gooey?
Add more marshmallows at the end — don’t overmix, so some stay whole.