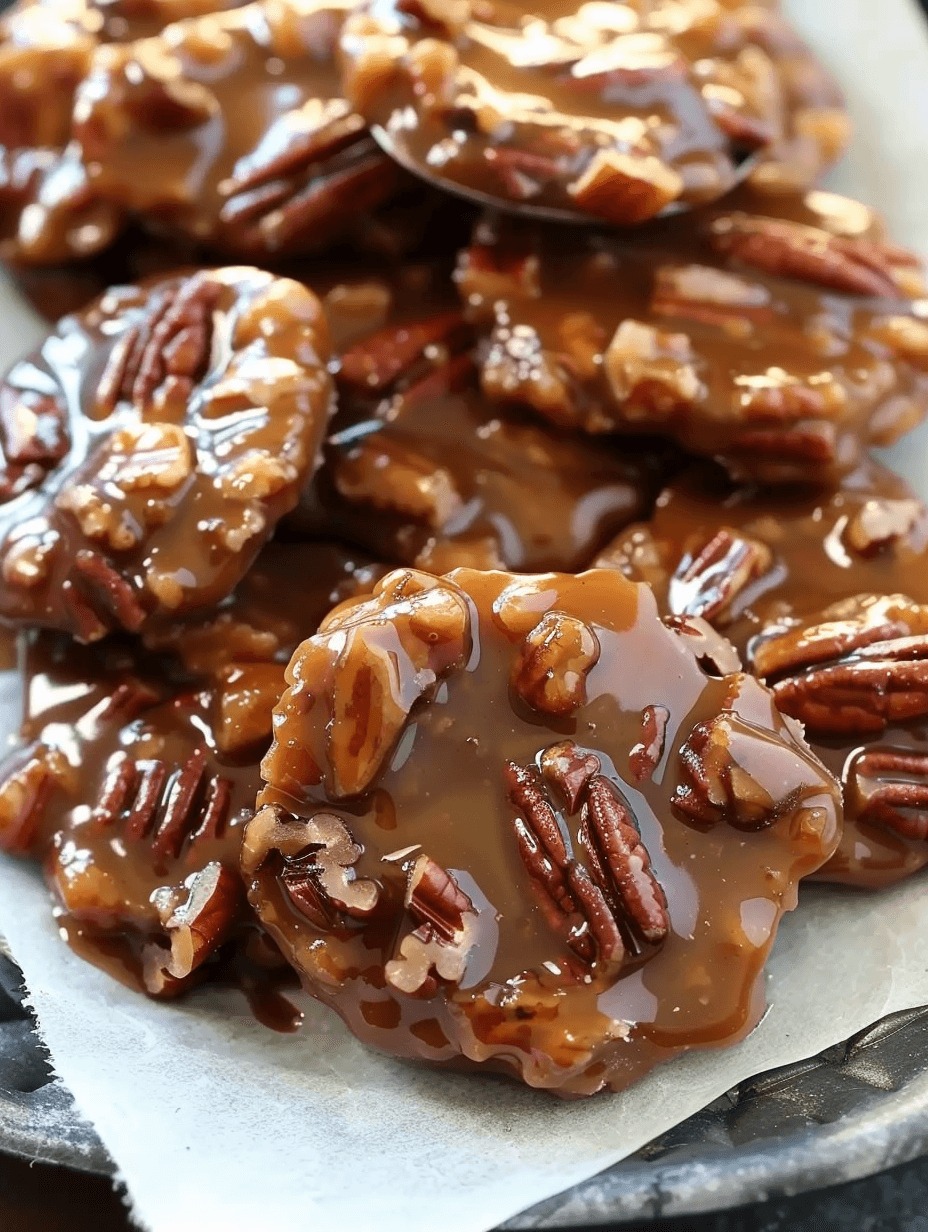
If you’ve ever strolled through the streets of New Orleans and caught the warm, nutty scent of freshly made pralines, you know the kind of magic we’re talking about. These Easy Pecan Pralines bring that same sweet, buttery perfection right into your kitchen — no candy shop required.
Made with just a handful of simple ingredients — sugar, brown sugar, milk, butter, vanilla, and pecans — this classic Southern confection is all about texture and timing. They’re creamy, slightly chewy, and full of that signature caramelized flavor that melts in your mouth.
Whether you’re preparing holiday gifts, filling your dessert table, or simply craving something nostalgic, this easy recipe guarantees perfect pralines every time.
Why You’ll Love These Easy Pecan Pralines
- No candy thermometer needed — just follow the timing and texture cues.
- Authentic Southern flavor — rich, buttery, and full of toasted pecans.
- Quick and simple — ready in under 30 minutes.
- Perfect for gifting — elegant, homemade, and universally loved.
- Foolproof texture — creamy, never grainy, with a perfect snap.
Why You Should Try This Recipe
Traditional pralines can seem intimidating, but this recipe makes them accessible to anyone. The brown sugar adds depth and molasses-like richness, while the butter and milk ensure a smooth, creamy consistency.
The key? Stir constantly and work quickly. Once you’ve mastered the simple rhythm of boiling and cooling, you’ll have a batch of beautiful, glossy pralines that rival any candy shop.
Ingredients You’ll Need
- 1 ½ cups granulated sugar
- ¾ cup dark brown sugar (light brown works too)
- ½ cup whole milk
- 1 teaspoon vanilla extract
- 6 tablespoons unsalted butter
- 1 ½ cups pecans, coarsely chopped
How to Make Easy Pecan Pralines (Step by Step)
Step 1: Prepare your workspace
Before you begin, lay out a sheet of wax paper or parchment on a flat surface. Set out a tablespoon for dropping the pralines — once the mixture is ready, you’ll need to move fast.
Step 2: Combine ingredients
In a 4-quart saucepan, combine sugar, brown sugar, milk, butter, vanilla, and chopped pecans.
Step 3: Melt and dissolve
Heat over low heat, stirring often until the butter melts and the sugars dissolve completely.
Step 4: Bring to a boil
Increase the heat to medium-high and bring the mixture to a rolling boil. Stir constantly with a wooden spoon — it will bubble up high, so don’t leave it unattended.
Step 5: Boil and stir
Let the mixture boil for exactly 3 minutes, continuing to stir constantly.
Step 6: Remove from heat and thicken
Take the pan off the heat. Stir vigorously for about 2 minutes, until the mixture starts to thicken and lose its glossy sheen.
Step 7: Drop and set
Using a tablespoon, quickly drop spoonfuls of the mixture onto your prepared wax paper. Work fast — the candy will firm up quickly as it cools.
Step 8: Cool and enjoy
Let pralines sit for 10–15 minutes, until fully set. Store in an airtight container once cooled.
Tips for the Best Pecan Pralines
- Work quickly — once the mixture thickens, it sets fast.
- Don’t overboil — stick to 3 minutes; longer cooking makes them hard.
- Stir constantly — prevents burning and creates a smooth texture.
- Use real butter — gives a rich, creamy praline flavor.
- Avoid humid days — moisture can make the pralines sticky or soft.
- Use a heavy-bottomed saucepan — distributes heat evenly.
- Toast your pecans — enhances their nutty aroma.
- Cool completely before storing — condensation can cause stickiness.
- Use fresh pecans — old nuts can make pralines bitter.
- Practice makes perfect — every batch gets easier and better!
Variations & Substitutions
- Maple Pralines: Replace half the sugar with maple syrup.
- Coconut Pecan Pralines: Stir in ½ cup shredded coconut.
- Spiced Pralines: Add ½ teaspoon cinnamon or a pinch of nutmeg.
- Brown Butter Pralines: Brown the butter slightly for a nutty flavor.
- Bourbon Vanilla Pralines: Add 1 tablespoon bourbon after removing from heat.
- White Chocolate Drizzle: Decorate cooled pralines with melted white chocolate.
- Sea Salt Finish: Sprinkle with flaky sea salt before they set.
- Walnut Version: Substitute pecans with toasted walnuts.
- Vegan Option: Use coconut milk and vegan butter.
- Crunchier Candy: Cook for an extra 30 seconds for a firmer praline.
What to Serve With Easy Pecan Pralines
- Vanilla ice cream — crumble pralines on top for a sweet crunch.
- Coffee or espresso — balances the caramel sweetness.
- Dessert boards — include pralines with truffles and fudge.
- Holiday gift boxes — wrap them in parchment or candy bags.
- Southern desserts — pair with pecan pie or bread pudding.
Storage & Reheating Tips
To Store:
Keep pralines in an airtight container at room temperature for up to 1 week.
To Freeze:
Freeze between layers of parchment paper in a sealed container for up to 2 months.
To Refresh:
If pralines soften, leave them uncovered at room temperature for a few hours to firm up.
Recipe FAQs
Do I need a candy thermometer?
No — this recipe works perfectly with timing alone.
Why are my pralines grainy?
They were likely overcooked or stirred too little after boiling.
Can I use light brown sugar instead of dark?
Yes — it will produce a slightly lighter flavor.
Why didn’t my pralines harden?
They might not have boiled long enough or were made on a humid day.
Can I double this recipe?
Yes, but work very quickly when dropping them.
Can I make them without milk?
Evaporated or half-and-half milk works best; avoid skim milk.
Can I toast the pecans first?
Definitely — it adds depth and crunch.
Why do pralines crystallize?
High heat or scraping the pan edges can cause sugar crystals to form.
Can I reheat the mixture?
No — once it cools, it sets permanently.
Are pralines supposed to be soft or firm?
They should be firm enough to hold shape but creamy when bitten.
Final Thoughts
These Easy Pecan Pralines deliver everything you love about old-fashioned candy — buttery, nutty, sweet, and melt-in-your-mouth smooth. With their glossy caramel finish and toasty pecans, they’re a taste of Southern tradition that’s simple enough for anyone to master.
Whether you make them for the holidays or just to satisfy your sweet tooth, one thing’s certain: once you start, you won’t stop at one.